Friday, December 28, 2018

Attic Bathroom and Insulation

I'm getting the bathroom prepared for tiling.  I've got the tub installed, including the plumbing.  And I've cut and arranged the tile, labeling in them in the order I will use adhesive to lay them down.


I also started to put in all the insulation which is quite a lot.  I actually furred out the 2x4 walls to make the 2x6, and am installing R-21 to add some better insulation.


Attic Rough-In

After a long summer where it was way too hot to work in the attic, I'm finally back to the project hoping to complete it in a couple months.  I have most of the rough-in electrical, plumbing and HVAC complete.  I am making sure everything works and is ready to go even before drywalling just in case ;-)  Also install all the necessary baffles needed to keep the air flowing through the soffits to the ridge vents.


Thursday, October 4, 2018

Backyard Stone Walkway

I decided to mulch most of the walkway since this side of the house gets little sun next to the bricks and the grass ends up dying anyway.  Originally was going to cement them in place, but instead I just cut them into the ground and they seem to be pretty stable.  Good enough for now anyway :)


And a couple weeks later...


Monday, May 28, 2018

Attic Framing

I finished the framing for the attic which we are converting into another bedroom suite with small office, bathroom and large closet.

This is the main bedroom with walk up stairs to the attic.  I also added another door and stairs to walk up so you can gain access to the remaining unfinished spaces.


This is a picture from the opposite side of the bedroom facing the bathroom.  The pocket door for the bathroom is on the left.  There will also be built in selves above the HVAC return.


From this location, if you look to your left, I opened up the wall with a walkway where I sistered the floor joists and put down subfloor making a unique addition for a small office with funky ceiling lines and with a small window.


Here are a couple shoots from inside the office area, including a section where I will put in built in shelving.


The bathroom is 8x5 and will have a sink, toilet and shower in the back.  To the right is an other pocket door to a nice sized walk-in closet.


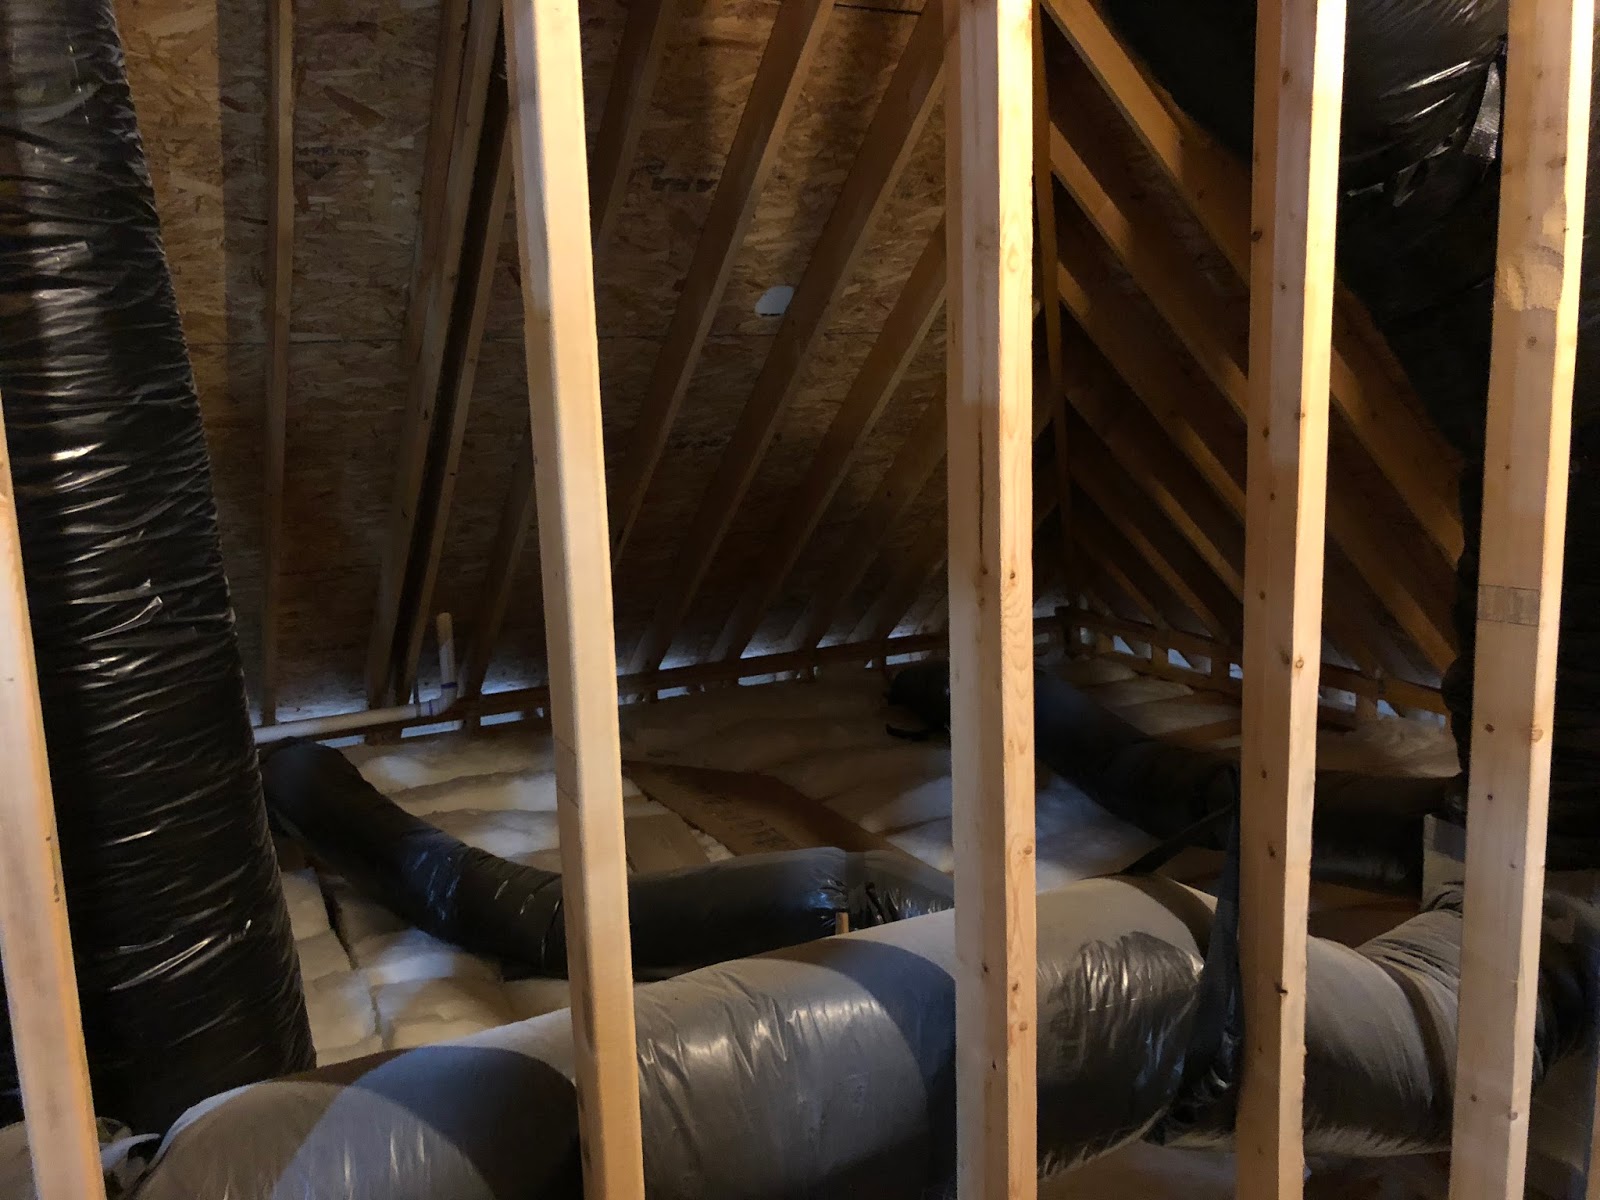
From the back of the closet, which will behind the clothing racks, you can still gain access through a door to the unfinished space where the HVAC unit is.  I also added a ladder to be able to crawl up above the room and gain access to the remaining small unfinished area above the room.


Lastly, I put in baffles to allow airflow from the soffits to the ridge venting, as well as strapped the ceiling.


Tuesday, May 8, 2018

Golf Range

Started by just laying out how I wanted the box to be and trying to get an idea of how it will all look.


Then used some blocks and made sure everything was leveled to the way I wanted it.  Finally I drilled 3/4" holes through the timber and drove in 2 foot stakes to keep everything in place.


Since the location is on a slope, filled one side with extra gravel I already had.


Then filled in the box with soil as well as sloped the sides outside the box.


Then topped it off with a small layer of mulch.


Lastly, stood up the driving range net and tied it down with small rope and screws into the timber.  Four!!


Friday, April 20, 2018

Mini Bar Finished

Finished the room over the garage.  After the cabinets were installed, I put in a few more wall outlets, as well as repainted the room.  Lastly, got most of the furniture in place.


Tuesday, April 3, 2018

Backyard Stone Walkway Layout

Because having 2 simultaneous big projects is not enough :-), I decided to use the rest of the flagstone from the front yard walkway project to do something similar in the backyard.  This time however, I'm going to group the stone in 3-5 pieces and mortar them together, but let the grass grow between each group.  This is just the first stage of laying them out to get an idea of how the project will come together...


Saturday, March 24, 2018

Wet Bar Cabinets and Sink


This project has come a long way from what it used to look like when I first opened up the walls and roughed the plumbing in :)

http://pricecreek.blogspot.com/2018/01/sink-and-counter-in-bonus-room.html

I have the cabinets and sink installed and working, as well as the built in mini-fridge.  The drawer to the right of the sink is a garbage can, and right next to that is open shelves that can be adjusted.


Next up, some touch up on the baseboard trim, and repaint the walls.  I'm also going to install 2 outlets above the backsplash since I made sure to run electrical lines and I still have access to the knee wall behind the cabinets through an access door behind the fridge that can be easily pulled out.

For shits and grins, here is what it looks like under the sink.


Saturday, February 17, 2018

Attic Floor Joists

So the first challenge was to reinforce the floor in an area I would like to finish that only had 2x8s.  So to fix that, I've sistered those with 2x10s that can withstand the span, with plentiful glue and a lot of nailing.


Also, the adjoining area is about 5 inches below the main section which already has live load engineered open web joists, so I needed to build up the area with perpendicular 2x4s to just about a half inch below the adjoining to make room for the subfloor, again with a lot of glue and nailing to reduce any chance of squeaking.  The extra space also let's me make room for duct work that I will extend and run down the columns.


Also, I've left the insulation in the floor mainly for sound dampening, even though some areas don't technically need it now.


Saturday, January 27, 2018

3 Boys, 3 Bedrooms

We only have 2 extra bedrooms in addition to our master bedroom, but we have 3 boys who all want their own room.  So time to finish the attic :)  This project is just getting started, but here is the current unfinished attic space.

The attic already has walk up stairs.


And the 3rd floor already has open web trusses engineered for live load bearing weight, so at least that won't be a huge undertaking.  It also has electrical circuits that can be tied into easily.


I will also be adding a 8x5 bathroom (left) and large closet (right).  The plumbing for the bathroom will tie into the 2nd floor bathroom which is almost directly underneath.


There are some cool funky spaces as well that I will finish to get those neat sloping areas in an attic, once I move some of the duct work.  These areas are only partially load bearing at the moment, so I will have to reinforce those areas a bit by sistering 2x10s to existing joists.


Lastly, there is a section that I will keep unfinished, but provide a large access door.  And by moving some of the existing ductwork, and adding some floor boards, will make for a good storage area.


Sink and Counter in Bonus Room

We plan to convert the bonus room over the garage to an office with a sink and some additional counter space.  So first I needed to rough in the plumbing and electrical.  Luckily, there is a bathroom in the bonus room, so I could tie into it's plumbing by routing pipes through a 2x6 dormer wall, and I had unfinished access space behind both the bathroom and the new counter.

This is the original space where we just had a dresser before, and behind it a knee wall with unfinished space.


I had to first move the low voltage wiring, and replace that with the sink water and drain pipes.


I tied into the existing bathroom hot and cold water lines, as well as the drain and vent pipes properly sloped, and carried that all through the 2x6 dormer wall, additionally routing electrical lines to tie into the GFCI circuit.


Then I moved the old knee wall door, and replaced it with a simple access door in an area of the cabinets I will always be able to get access to (behind an appliance that can be pulled out).


And lastly this is how the project currently stands.  The cabinets and appliance/fixtures have been ordered.  On the left will be a sink, then a double pull-out trash, then open shelving, and lastly a built in mini-fridgerator slot.