I'm a licensed North Carolina General Contractor who built a home to sell in 2008, and then built my own family home in 2014. I'm also a software engineer, marathon runner, and an occasional terrible golfer. I document my DIY experiences through this blog. ( http://wanderski.com )
Thursday, March 31, 2016
Tuesday, March 29, 2016
Raised Garden Beds part 1
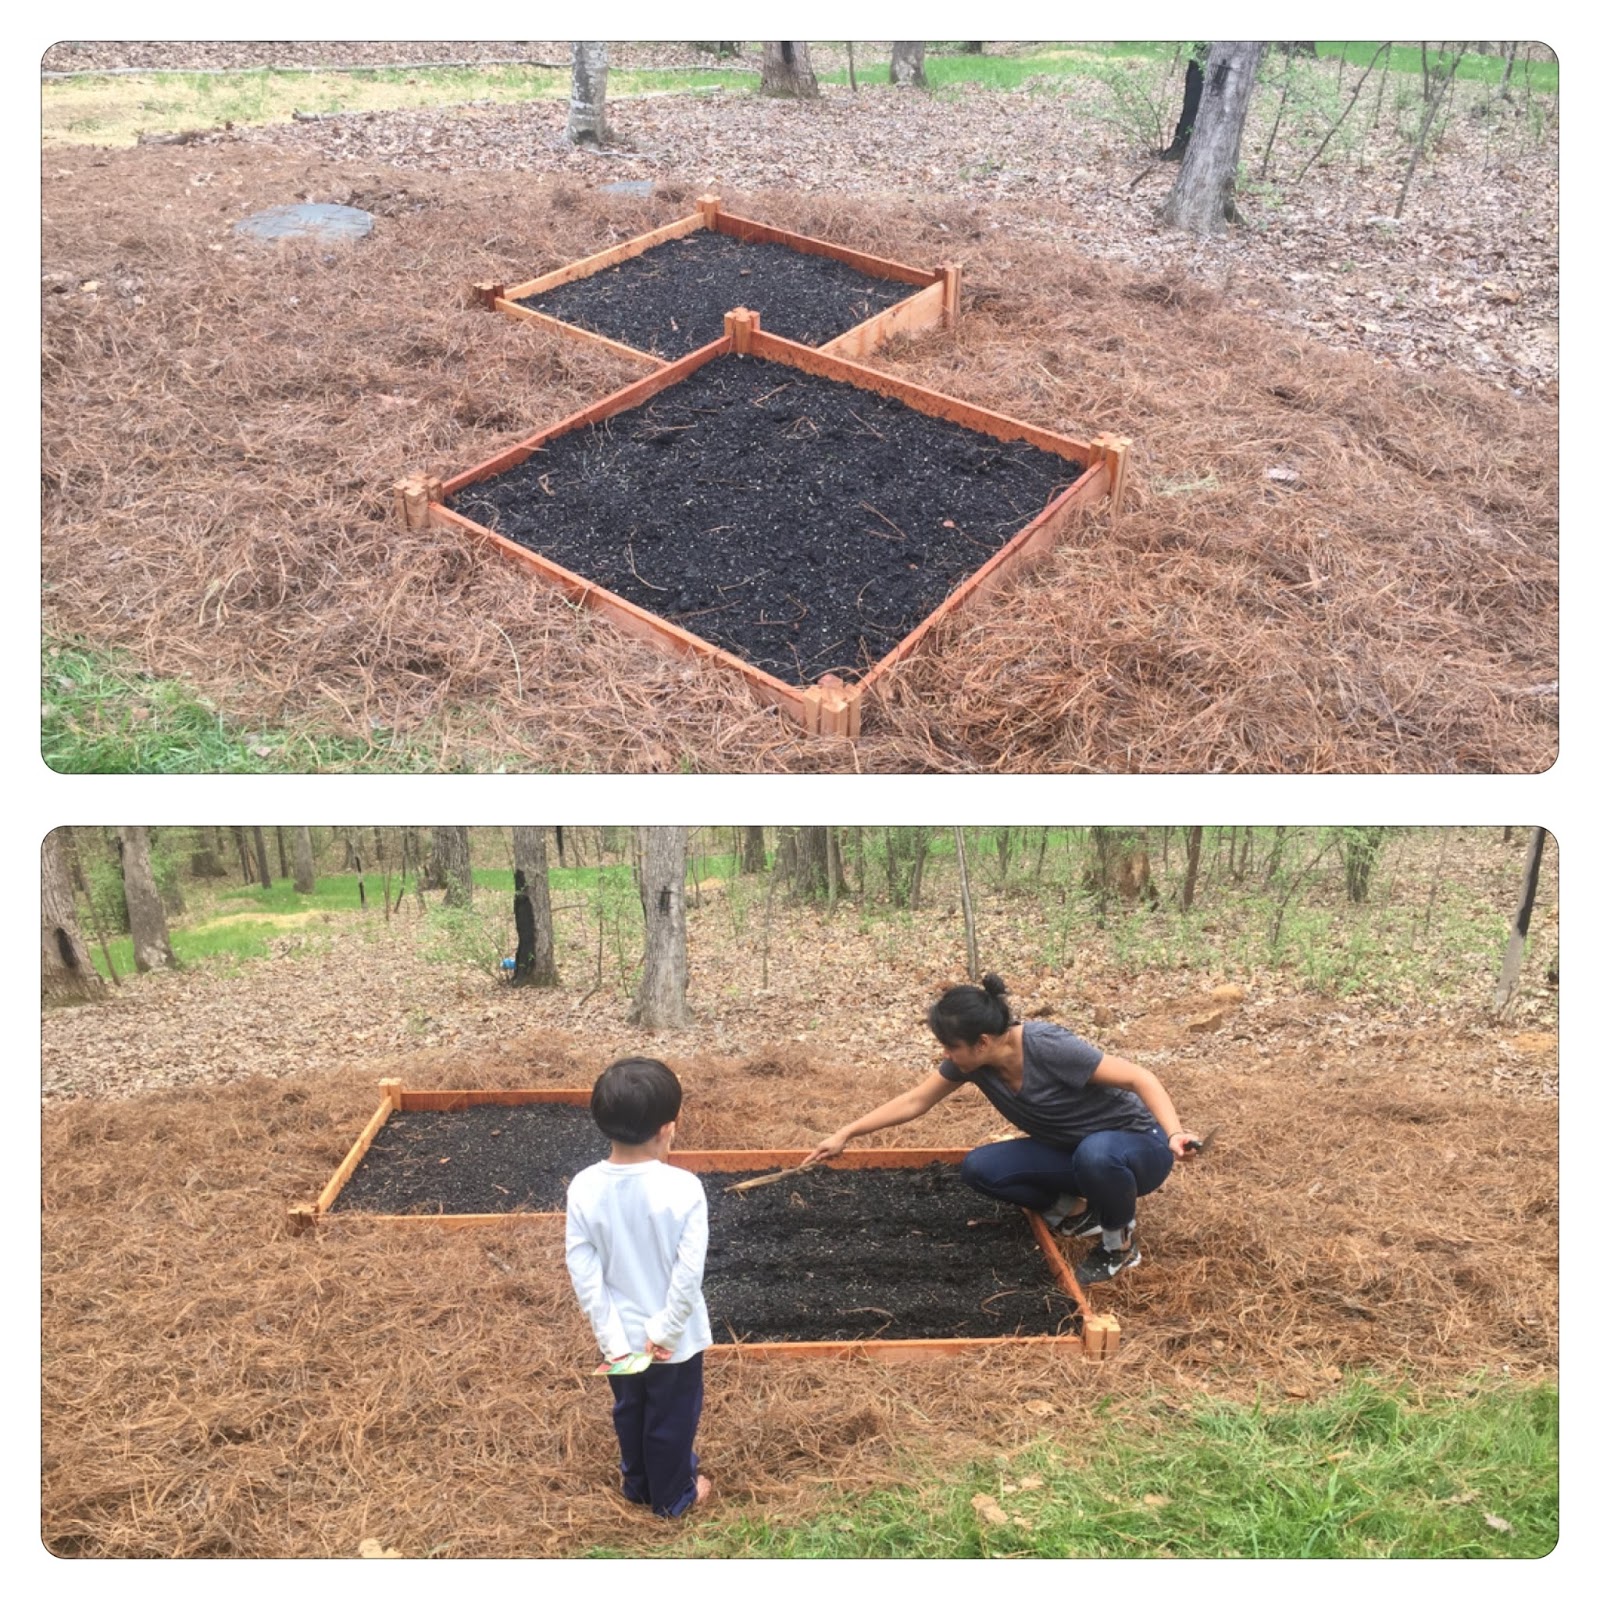
This is one of 2 boxes that will be attached at the corners for our flower and vegetable garden.
Since there is such a slope in the backyard, first step was to dig out into the slope...
Then leveled and used block for make shift footers...
Since there is such a slope in the backyard, first step was to dig out into the slope...
Then leveled and used block for make shift footers...
Then put on top the assembled cedar bed...
Filled in the sides and bottom of the bed with the original crappy clay soil and compacted...
Then put down a layer of paper to stop weeds...
And then another thin layer of the crappy soil...
And lastly 3-4 inches of enriched garden soil...
Next up will be one more just like this one attached at the corner.
Thursday, January 28, 2016
Toilet in unfinished basement
Having a finished media room downstairs to get drunk, watch movies and playing video games in is a real pain in the ass if you have to drag your drunk ass up the stairs to take a piss, or worse especially in the winter, go outside and piss off the deck :-)
Sooooooo... I just had to install a toilet in our unfinished basement :-)
First I installed drywall on one side of the wall to give a bit of privacy.
Then I turned off the water to the house and cut down the copper pipe, before installing the compression stop value for the water supply line.
Then I used 3/4'' treated wood to mimic a finished floor cutting a hole around the drain and then cutting the drain pipe down flush with the wood.
Sooooooo... I just had to install a toilet in our unfinished basement :-)
First I installed drywall on one side of the wall to give a bit of privacy.
Then I turned off the water to the house and cut down the copper pipe, before installing the compression stop value for the water supply line.
Then I used 3/4'' treated wood to mimic a finished floor cutting a hole around the drain and then cutting the drain pipe down flush with the wood.
Then I used liquid nail glue to adhere the wood to the concrete floor and weighed it down with large rocks to let it dry. Then screwing down the toilet flange on the wood into the drain.
And then I installed the toilet base to the flange bolting it down with the provided bolts and nuts.
Lastly installing the remaining toilet components to the base and attaching the water supply line.
Viola! I can piss in the basement now in comfort :-)
Wednesday, December 23, 2015
Friday, December 18, 2015
Final Before Drywall
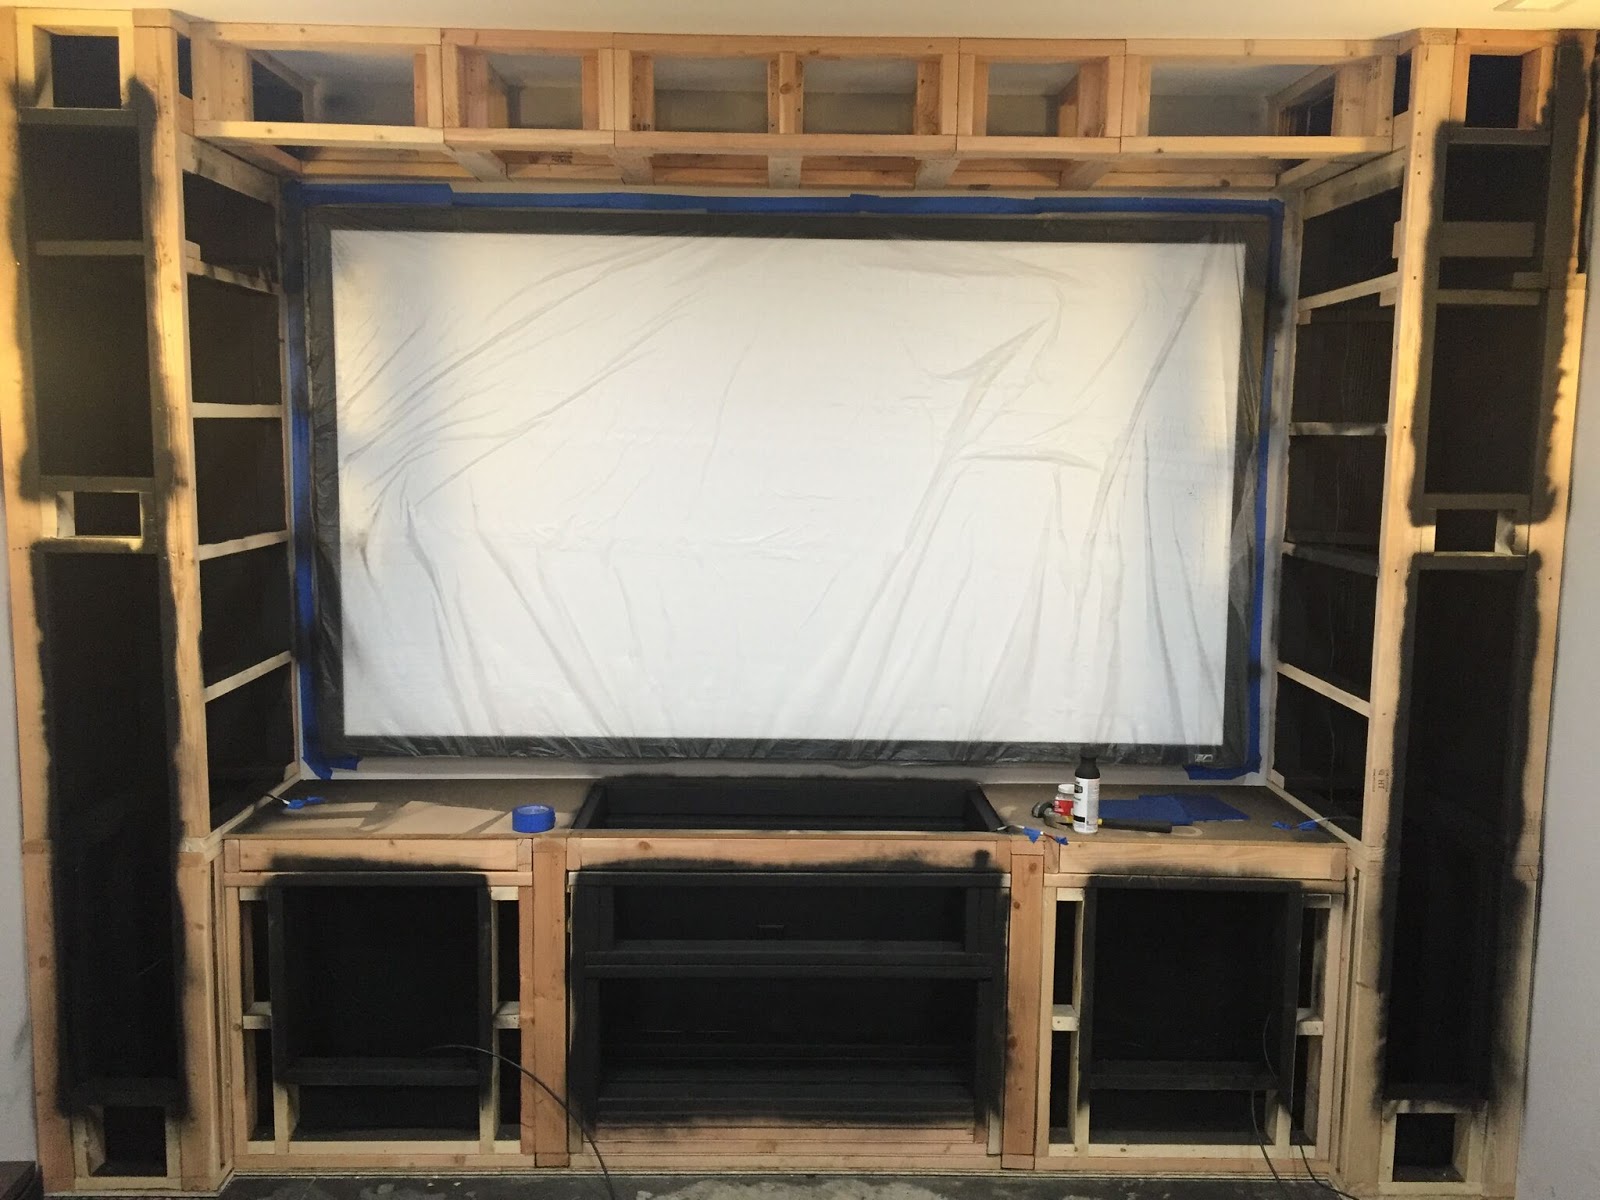
Well FINALLY ready to drywall. I spray painted the speaker stands and foam inserts to eliminate vibrations, and put everything back into it's place to make sure it's all working correctly.
It's so dark in those cavities you can't even tell the speakers are in there, or the electronics either for that matter!
Saturday, December 12, 2015
Speaker Cavities
Spray painted the built in speaker cavities so that once the felt is put on top, nothing will shine or be viewable.
Thursday, November 26, 2015
Raw framing complete
Happy Thanksgiving! This is the slowest project ever, but I have to find time to squeeze in some work in between everything else... like today before family comes over :) I have all the raw framing complete including the built ins for the speakers and the shelving for the units. Next up will be adding MDM to the top "shelf" to add support and then drywall.
Subscribe to:
Posts (Atom)